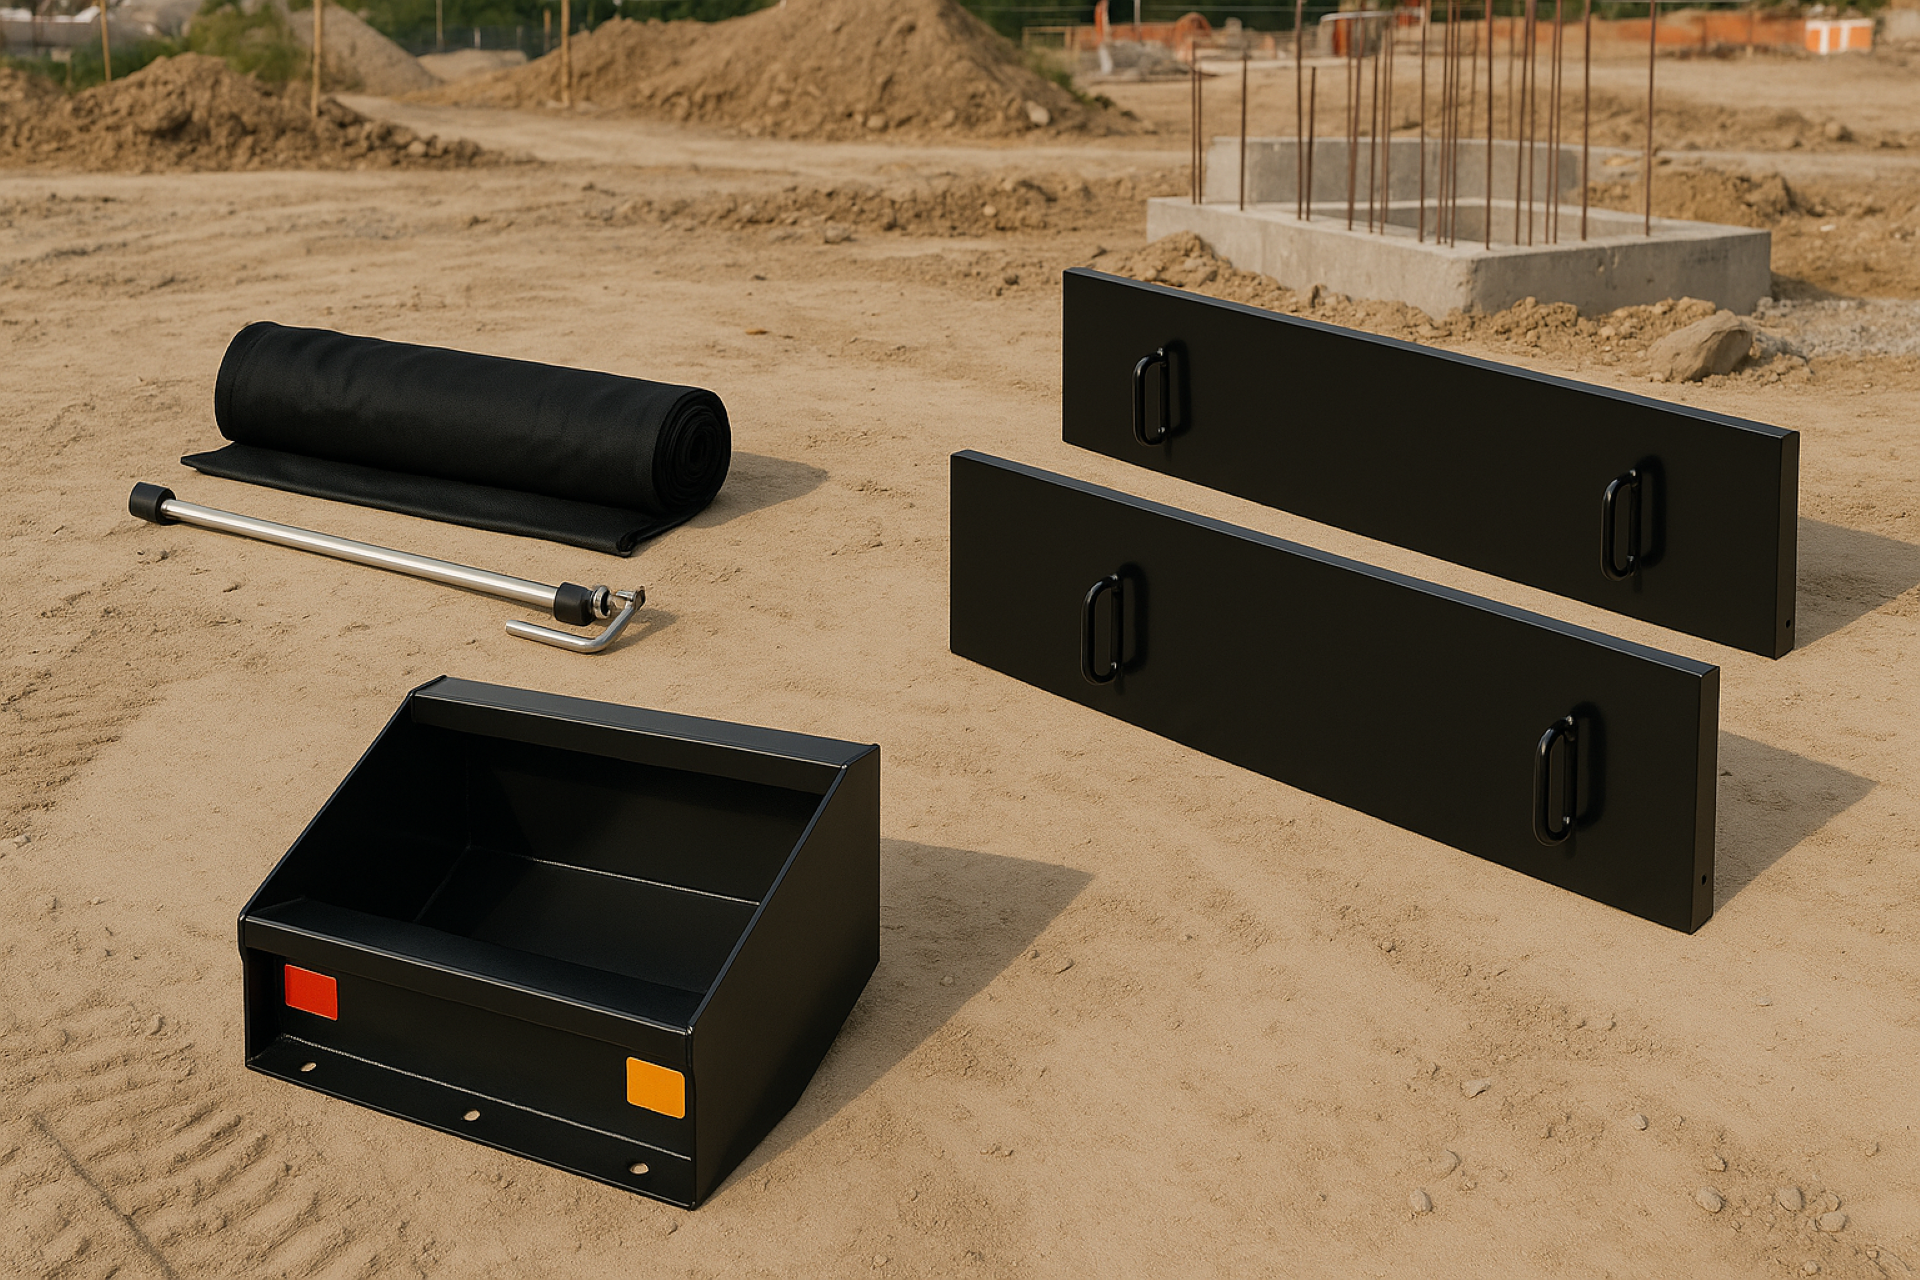
Step-by-Step Guide: How to Install a Dump Insert Safely
One of the greatest advantages of an EZ-Dumper® dump insert is how easily it installs in your pickup. Most owners complete installation in just 2–3 hours using basic tools. But beyond convenience, safe installation is essential. A properly installed insert ensures dependable operation, prevents damage to your truck, and keeps operators protected on every job.
In this guide, we’ll walk through the safe installation process for an EZ-Dumper® dump insert, covering preparation, mounting, wiring, hydraulics, and final safety checks.
Why Safety Matters During Installation
Dump inserts involve hydraulic power, electrical wiring, and heavy components. While straightforward, rushing through installation or skipping steps can create risks, from wiring shorts to unstable loads. By following proper procedures, you ensure your insert operates exactly as designed.
Step 1: Preparation Before Installation
Before lifting your EZ-Dumper® into the truck bed, preparation is key:
- Inspect the Truck Bed: Ensure your short-bed or full-size pickup is free of rust, dents, or debris. A clean, flat surface allows for stable mounting.
- Verify Fit: Confirm you have the correct model (6’ or 8’) for your truck. EZ-Dumper® inserts are engineered to fit most standard pickups, but double-checking prevents surprises.
- Gather Tools: Basic hand tools, wrenches, clamps, and safety gear (gloves and eye protection) are usually all you need.
- Plan Power Source: The insert operates off your truck’s 12V battery. Make sure it’s in good condition and accessible for wiring.
By setting up your workspace carefully, you save time and prevent safety risks.
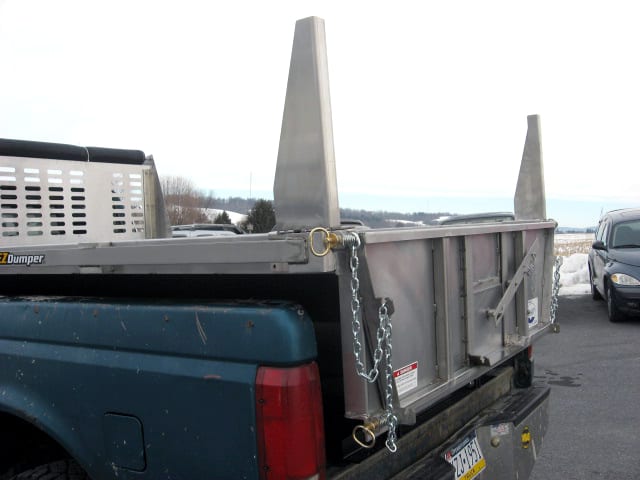
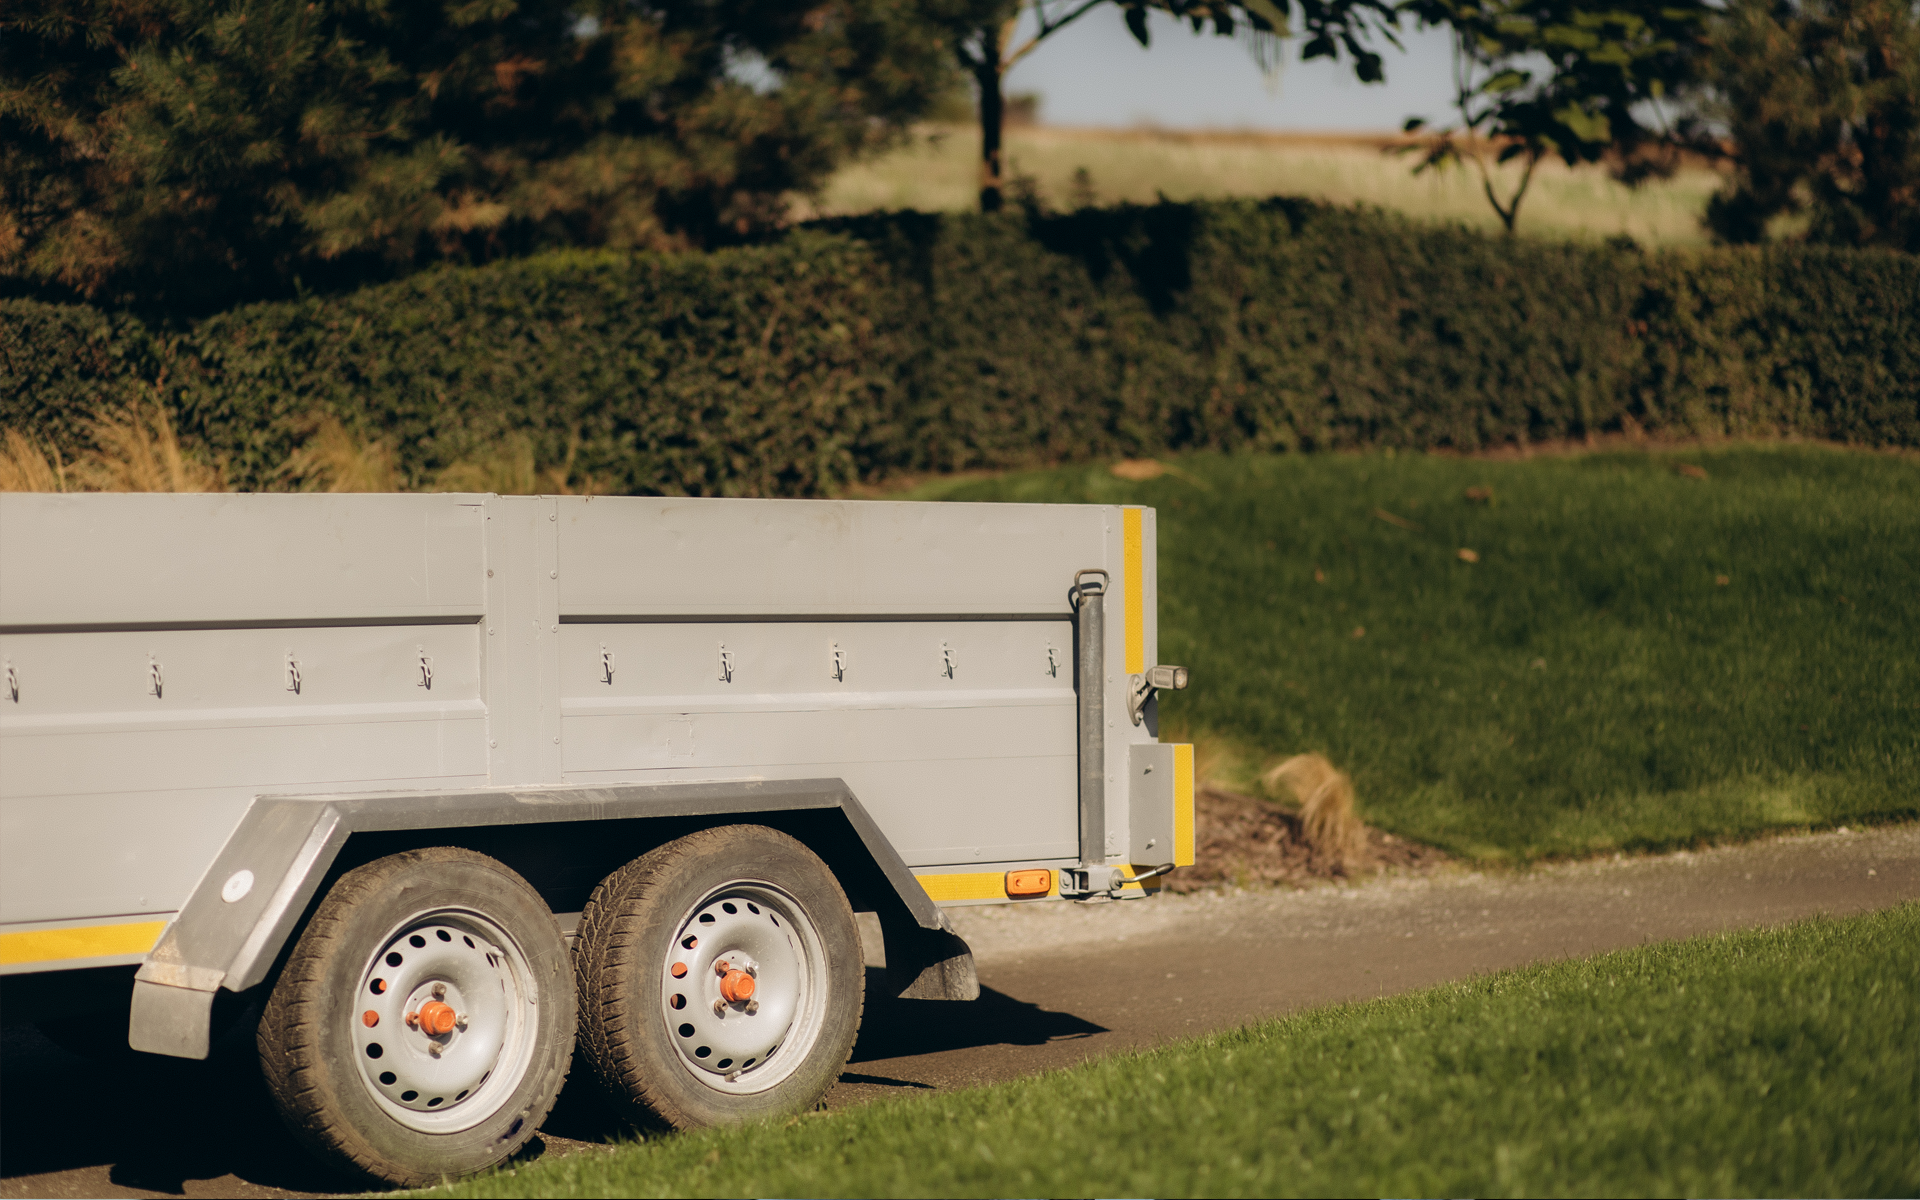
Step 2: Positioning the Insert
The insert should be lifted into place using appropriate equipment (forklift, hoist, or at least two people for guidance). Always avoid trying to place the unit alone, its weight ranges from 691 to 787 lbs depending on model.
- Center the Insert: Align it evenly in the truck bed so weight is distributed properly.
- Check Clearance: Ensure tailgate functions freely, and confirm the cab protector (if installed) clears the truck cab without interference.
Step 3: Securing the Insert
EZ-Dumper® inserts are designed for quick installation using bolt-down clamps.
- Bolt Placement: Each insert requires four clamps, two on each side.
- Torque Specifications: Tighten bolts to manufacturer guidelines. Under-tightening risks shifting; over-tightening risks bed damage.
- Double Check Alignment: Ensure the insert frame sits flush against the truck bed rails before final tightening.
Properly securing the insert ensures stability during dumping operations.
Step 4: Wiring the Hydraulic System
Electrical power is supplied by your truck’s battery.
- Connect Pump Leads: The Monarch double-acting pump has clearly marked positive and negative leads. Connect securely to the battery terminals.
- Route Cables Safely: Keep wires away from sharp edges and hot surfaces. Use provided grommets or conduit if necessary.
- Install Remote Control: The standard remote connects to the pump for power-up/power-down operation. Mount it in a location that’s accessible but protected from moisture.
Safety Tip: Always disconnect the truck battery before wiring. Reconnect only after all connections are secure.
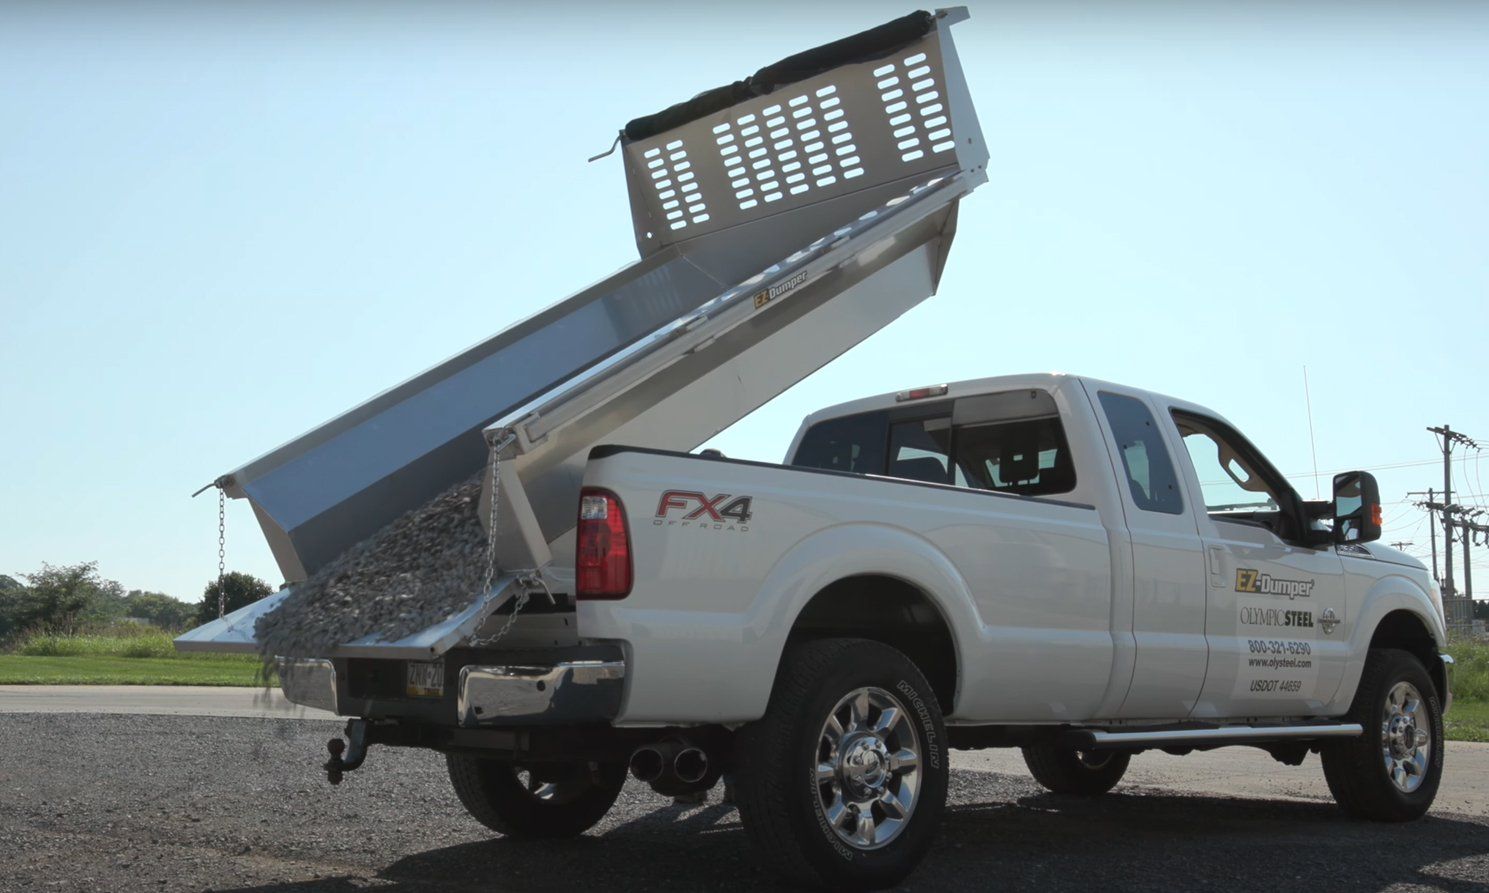
Step 5: Hydraulic Setup
The hydraulic system is pre-mounted under the unit, making setup straightforward.
- Check Fluid Levels: Confirm hydraulic fluid is at the recommended level before first use.
- Test Cylinder Motion: Slowly cycle the cylinder once after wiring is complete to confirm smooth lifting and lowering.
- Inspect for Leaks: Look around all fittings during initial operation. Address any leaks immediately before full use.c Setup
Step 6: Safety Checks Before First Use
Before loading your truck with material, confirm all systems are working properly:
- Secure Fitment: Recheck clamps and bolts for tightness.
- Electrical Safety: Verify wiring is not exposed or rubbing against edges.
- Remote Function: Ensure power-up and power-down work reliably.
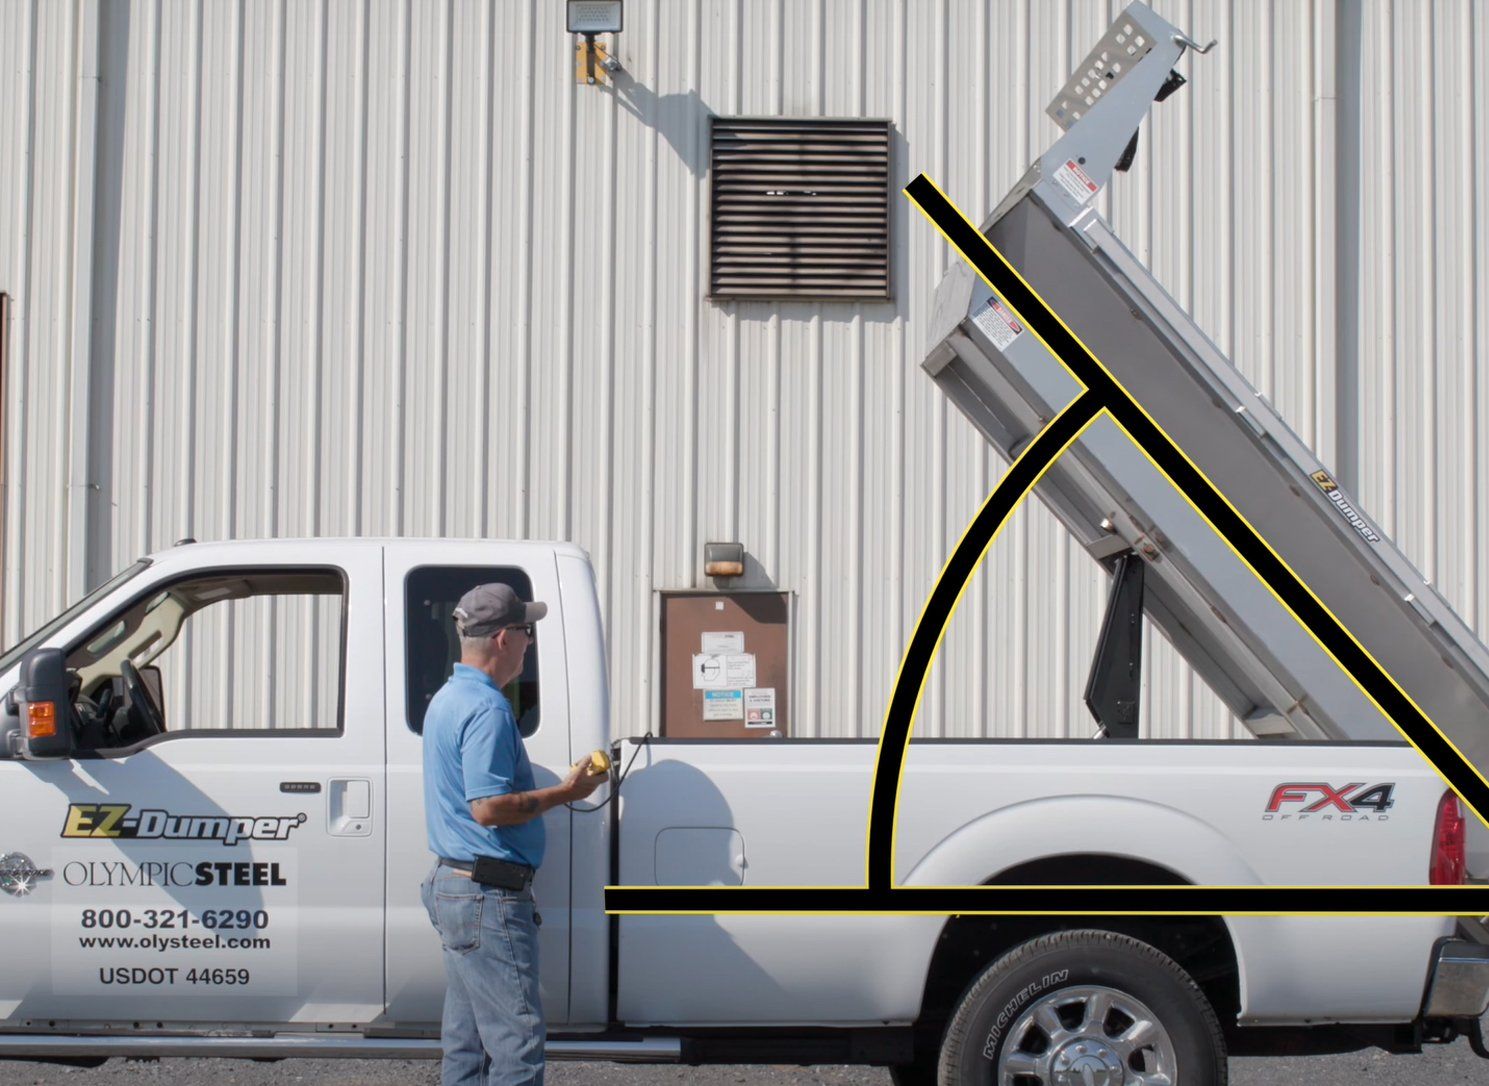
- Dump Angle: Confirm the bed raises to the full 51° angle without obstruction.
- Load Test: Start with a light load (mulch, brush) before attempting heavy materials like stone.
Maintenance After Installation
Proper installation is just the start. Ongoing safety depends on regular upkeep:
- Lubricate pivot points with grease fittings
- Inspect clamps and wiring monthly
- Touch up powder coating if scratched
- Keep hydraulic fluid at proper levels
With these checks, your EZ-Dumper® will remain safe and reliable for years.
FAQs About Installing a Dump Insert
Can I install an EZ-Dumper® insert myself?
Yes, most owners complete installation in 2–3 hours with standard tools. Always use safe lifting equipment due to weight.
Do I need a professional installer?
Not required, but recommended if you’re unfamiliar with wiring or hydraulics. Dealers can install inserts quickly.
Will installation damage my truck?
No, EZ-Dumper® inserts are designed to bolt in without modifications. They can be removed later without permanent changes.
What safety gear should I use?
Always wear gloves, eye protection, and use a proper hoist or lift when placing the unit.
Does improper installation void the warranty?
Yes. Incorrect installation may impact coverage. Always follow the owner’s manual or use a certified dealer.
Final Thoughts
Installing a dump insert is one of the smartest upgrades you can make for your pickup. But doing it safely ensures you get the full benefit of your investment without unnecessary risks. With careful preparation, proper wiring, and thorough safety checks, your EZ-Dumper® insert will perform as designed from day one.
For added peace of mind, many customers choose to work with an authorized EZ-Dumper® dealer, who can handle installation, parts, and service support. Either way, the result is the same: a durable, dependable dump insert that makes every load easier and every job more efficient.
Ready to install your EZ-Dumper® safely? Find a Dealer near you today.