Dump Insert Maintenance Tips to Keep Your Unit Running Strong

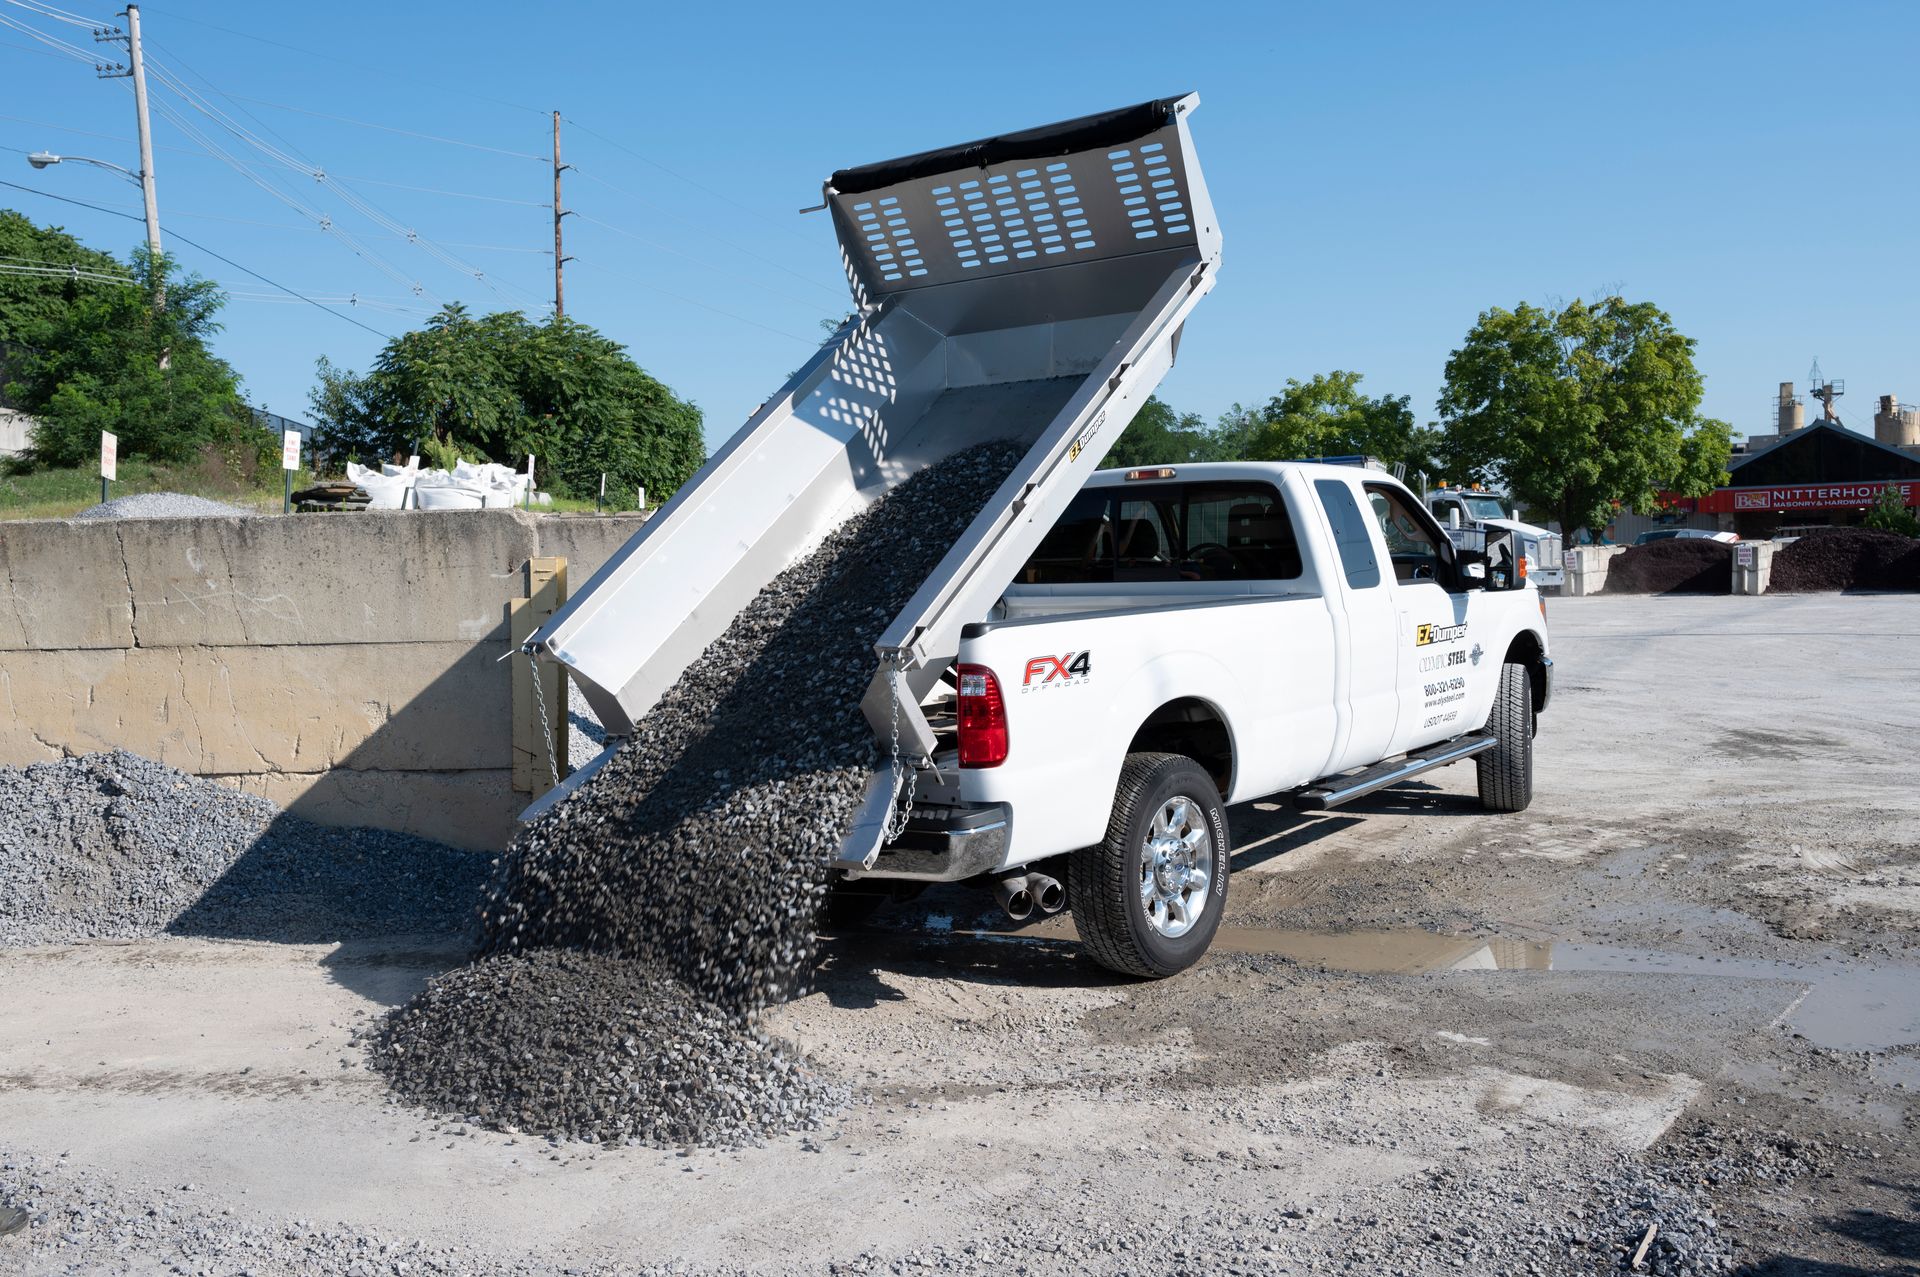
Whether you're hauling gravel to a jobsite, unloading mulch for a landscaping crew, or moving debris after a storm, your EZ-Dumper® dump insert works hard so it deserves proper care. Routine maintenance isn’t just about extending lifespan; it ensures safe, reliable operation in all conditions. With regular attention, your dump insert can deliver smooth hydraulic performance and reduced downtime for years to come.
Why Dump Insert Maintenance Matters
Your EZ-Dumper insert may seem like a rugged, low-maintenance machine—and in many ways, it is. But over time, exposure to dirt, water, debris, and heavy loads can take a toll on hydraulic components, mounting points, and even the wiring that powers your lift system.
Neglecting simple service tasks can lead to:
- Slower lift speeds
- Leaking hydraulics
- Electrical issues
- Frame or bed wear
- Unsafe operation
A consistent maintenance routine helps you avoid those costly headaches and keeps your equipment ready for the workday.
Visual Inspection Comes First
At the start of each workweek or before heavy use visually inspect the entire insert system. Look for anything that seems out of place or shows signs of wear.
Start with:
- Cracks or rust near frame welds and mounting clamps
- Leaking hydraulic hoses or loose fittings
- Battery cable fraying or corrosion
- Pin or latch wear at the tailgate
- Misalignment or damage to lift arms
A few minutes of visual inspection can prevent a much bigger issue on the road or jobsite.
Grease Moving Parts to Prevent Wear
Greasing is the easiest and most effective way to extend the life of your dump insert’s moving parts. EZ-Dumper inserts include threaded grease fittings (zerks) located on the hoist.
Apply high-quality multipurpose grease every 30 to 60 days, depending on use. Focus on:
| Component | Grease Location |
|---|---|
| Hoist pivot pin | Underside of insert frame |
| Hydraulic cylinder ends | At each cylinder mount |
This prevents squeaking, reduces metal wear, and keeps lift operation smooth even under heavy loads.
Check and Maintain Hydraulic Fluid
The dump insert’s lift performance relies on a sealed hydraulic system powered by a 12V Bucher Hydraulics pump. Low fluid can result in slow lifts or incomplete dump angles.
- Check fluid with the bed fully lowered
- Fluid should be ~½ inch below the top of the tank
- Use Dexron II ATF or approved equivalent
- Inspect for any leaks around fittings or hoses
- If fluid appears dark or milky, flush and replace it
Hydraulic systems should be checked monthly. Clean around the fill cap before opening to avoid introducing dirt into the tank.
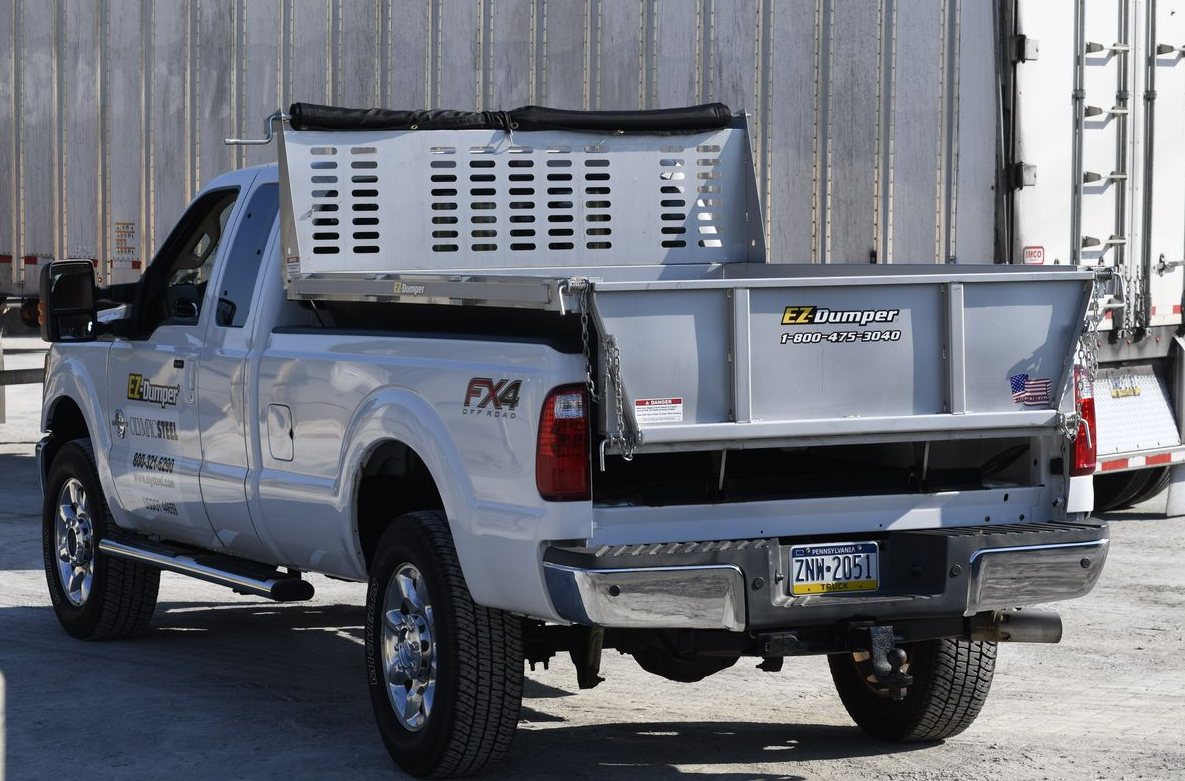
Don’t Forget to Recheck Mounting Clamps
Your EZ-Dumper is installed using four heavy-duty bolt-down clamps. Over time, heavy usage and vibration can cause mounting hardware to loosen.
Every few weeks, or after rough hauling:
- Check clamp tightness over the truck’s crossmembers
- Confirm that no clamps have shifted or worn at contact points
- Retorque bolts and replace any lock washers that show signs of fatigue
Loose clamps can lead to rattling, misalignment, or even damage to your truck bed rails.
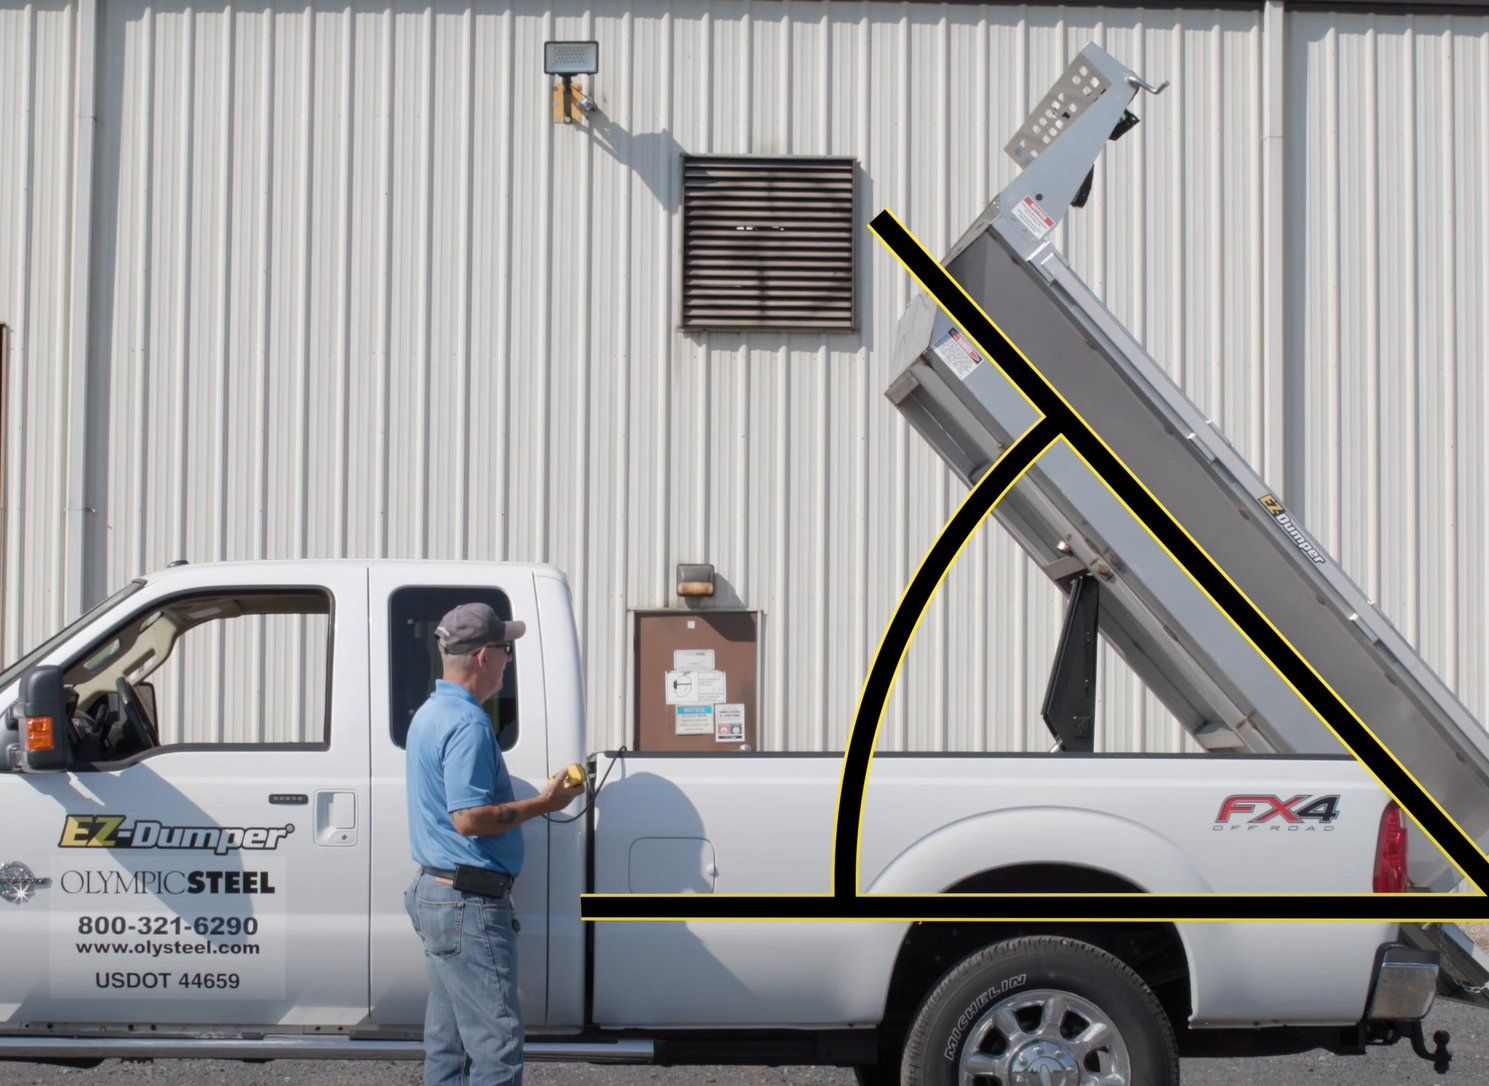
Remote Control and Electrical Maintenance
The dump insert uses a wired push-button remote connected to the pump motor. It’s simple but still needs care.
- To protect the electrical system:
- Keep the remote stowed safely when not in use
- Avoid pinching or crushing the cable in the cab
- Check terminals for corrosion
- Clean contacts and apply dielectric grease as needed
If the unit fails to lift, check both the solenoid and ground wires before troubleshooting deeper.
Always Use the Safety Prop When Working Under the Bed
When servicing or inspecting the dump bed from underneath, use the included safety prop. It locks into place when the bed is fully raised.
Steps:
- Use the remote to lift the bed completely
- Insert the safety prop securely
- Disconnect power or remove the remote
- Confirm the bed is locked before reaching underneath
Never trust hydraulic pressure alone. Safety props are there to protect lives.
Offseason Storage and Cleaning Tips
Before storing your dump insert for the winter or any long break complete a few preventative steps:
- Remove any material or residue from the bed
- Rinse away road salt, especially from around the pump and frame
- Dry the unit thoroughly
- Apply rust inhibitor or corrosion spray to exposed steel
- Park your truck facing uphill to prevent water pooling under the pump
- Disconnect the battery or power cable if stored long-term
These steps ensure your unit is ready to go in the spring, with no unpleasant surprises.
Do a Seasonal Deep Maintenance Check
Before your busiest season or right after winter, do a deeper inspection:
- Re-grease all fittings
- Check for paint wear or surface rust
- Test the lift with a partial load
- Replace any cotter pins or latches showing fatigue
- Clean and retorque all major hardware
Treat it like an oil change for your dump insert a seasonal ritual that adds years of life.
Replace Parts Before They Fail
EZ-Dumper offers a complete parts catalog through authorized dealers. If something looks worn don’t wait.
Common parts to inspect:
- Tailgate pins and chains
- Cotter pins and lock nuts
- Remote controls
- Cylinder seal kits
- Hydraulic hoses and fittings
- Battery cables and connectors
Keeping key parts on hand makes quick fixes possible without needing to remove the entire insert.
Final Thought: A Little Time = Long-Term Performance
Your EZ-Dumper insert is built tough but like any hardworking machine, it needs a little care to stay reliable. With a simple routine and attention to wear points, your dump insert will be ready to work as hard as you do.
Keep it greased. Keep it clean. And always keep safety first.
Need parts or support?
Visit your local EZ-Dumper® dealer or explore our official Parts & Service page for diagrams, accessories, and installation help.